Thursday, November 23, 2017

A Side Table for My Night Stand

I wanted a night stand with drawers that was a bit taller since my bed is high and I wanted it pretty
Time: 5 Days Cost: $45 Difficulty: Advanced
  • a side table for my night stand
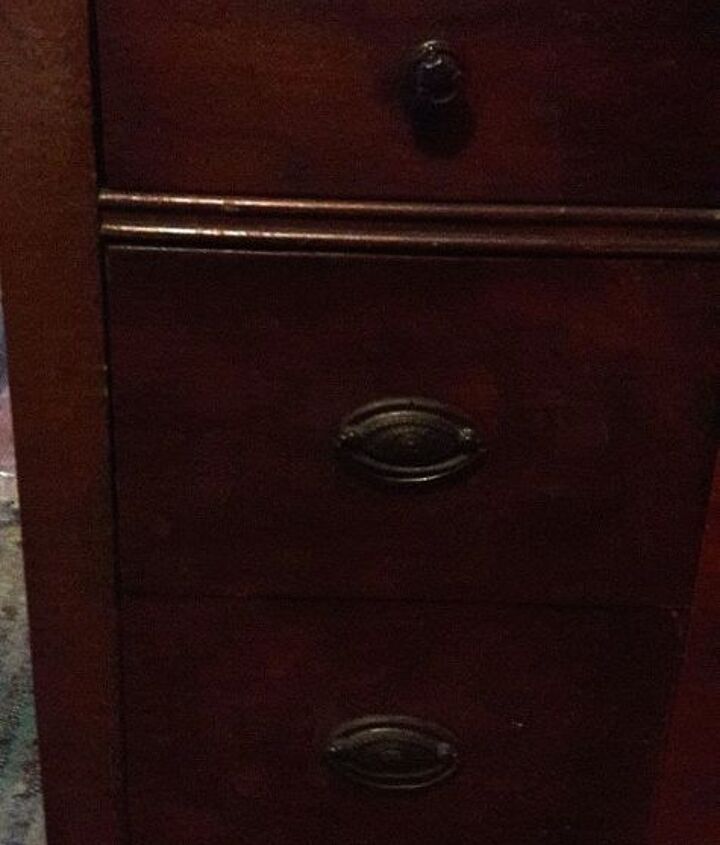
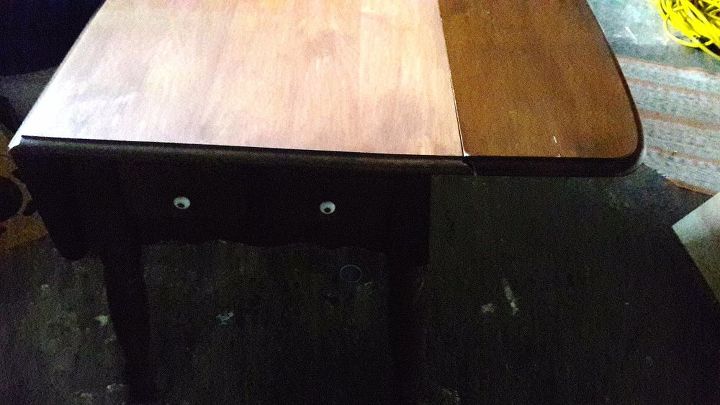
I found this little side table at the thrift store and knew it would work almost perfect, the veneer was damaged so I knew I had to paint it
  • a side table for my night stand
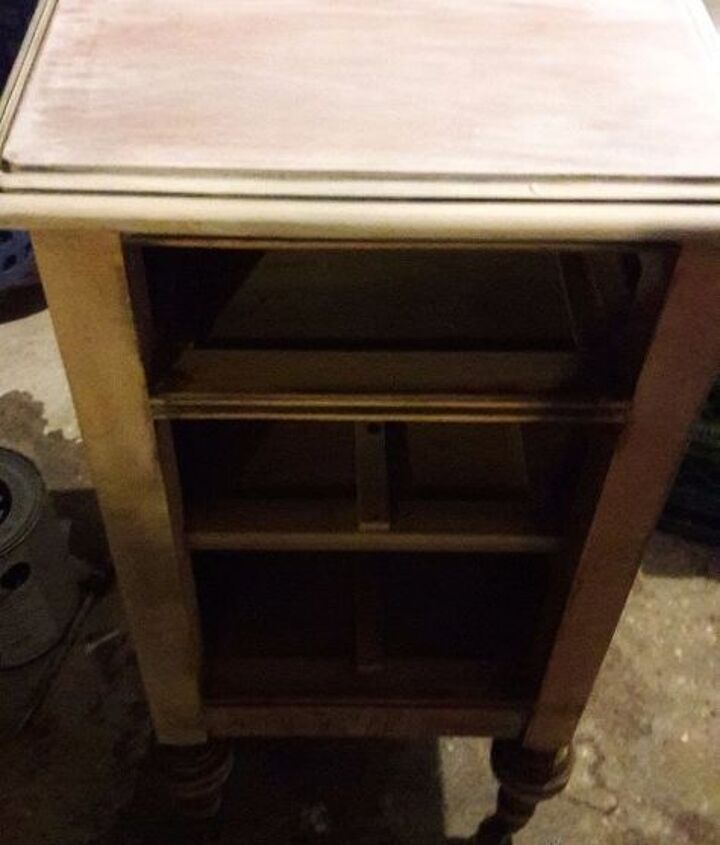
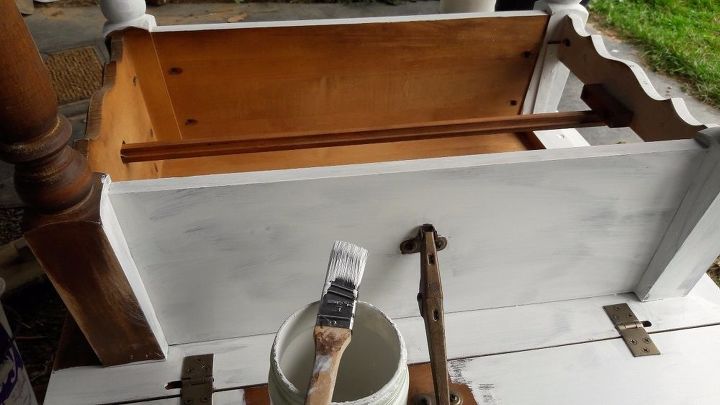
This is the stand after using citristip and sanding it to be ready for painting, I couldn't sand too much since the veneer is thin
  • a side table for my night stand
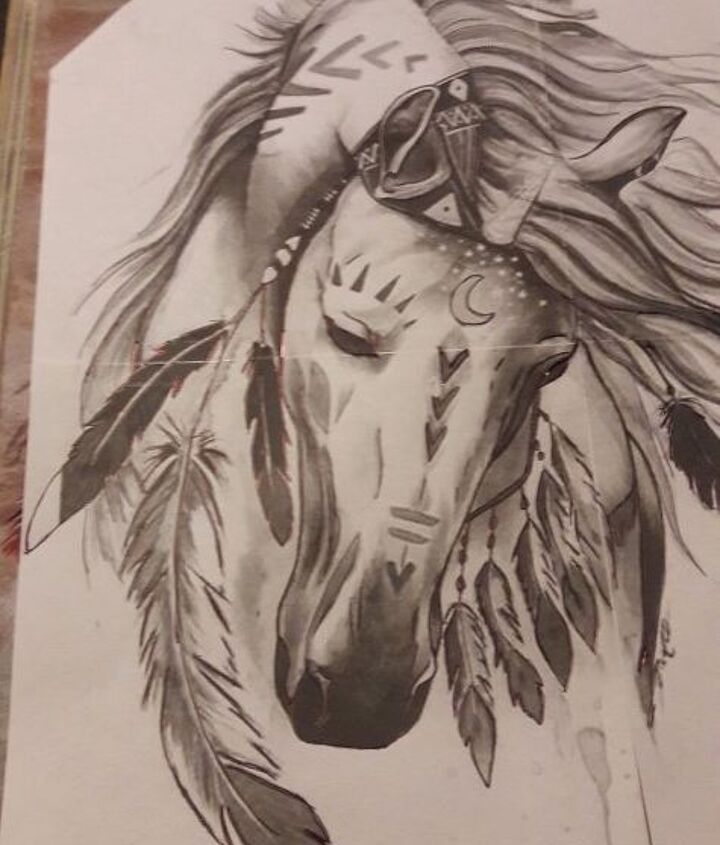
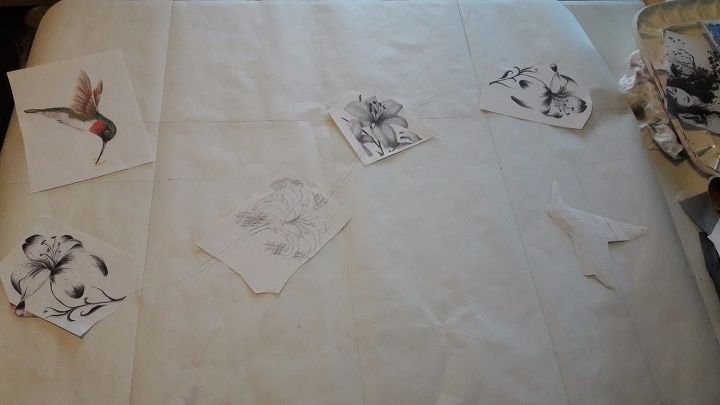
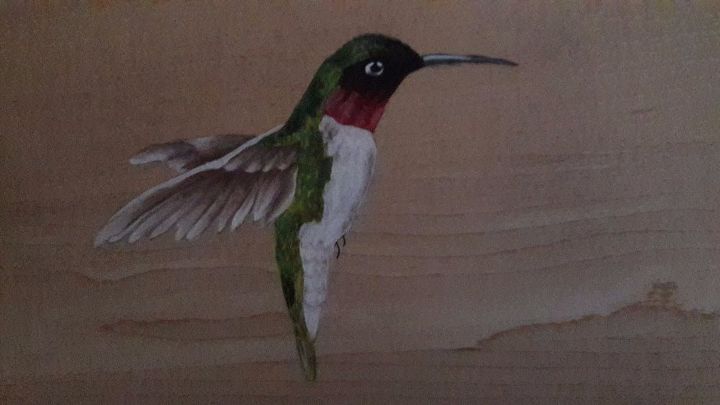
I found an image online that I loved and resized it using paint to fit on the top of the table and then traced it onto the table. I put a very thin layer of primer on the table before tracing it though sine the wood was kind of dark and I wanted the image to show good and I was afraid the paint wouldn't stick real well. I painted primer on the sides also, then painted them a nice grey laytex.
  • a side table for my night stand
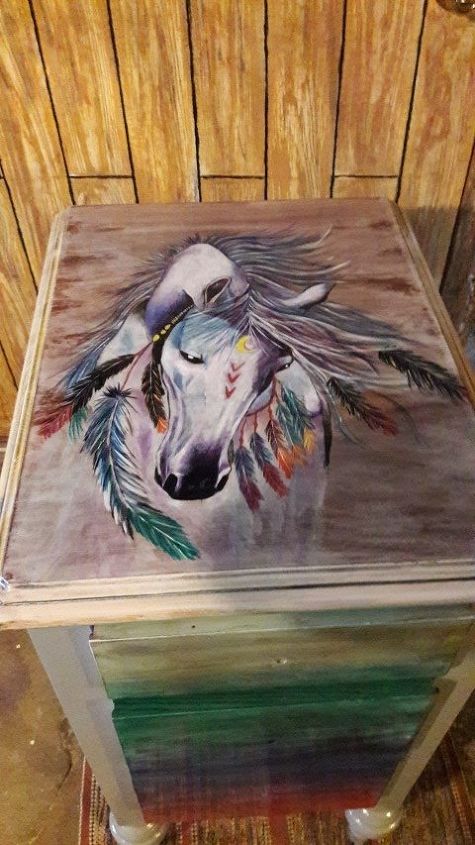
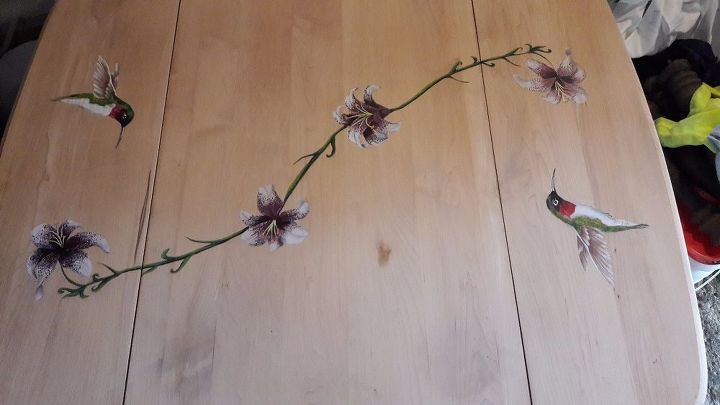
I painted the horse referring to the image I had using unicorn spit paint/stain and a few acrylics with mainly small brushes, then sprayed it with rustoleum clear
  • a side table for my night stand
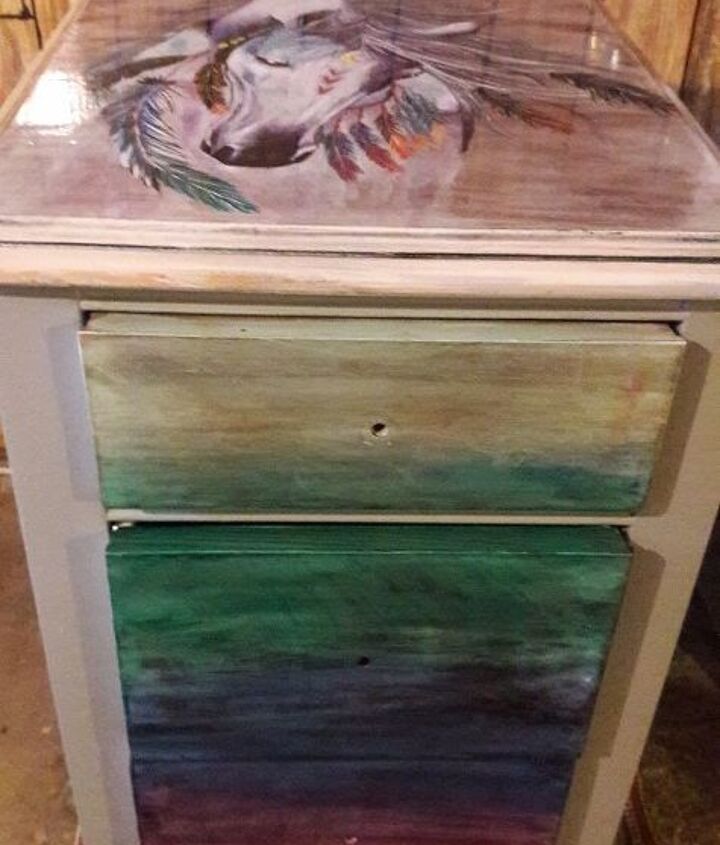
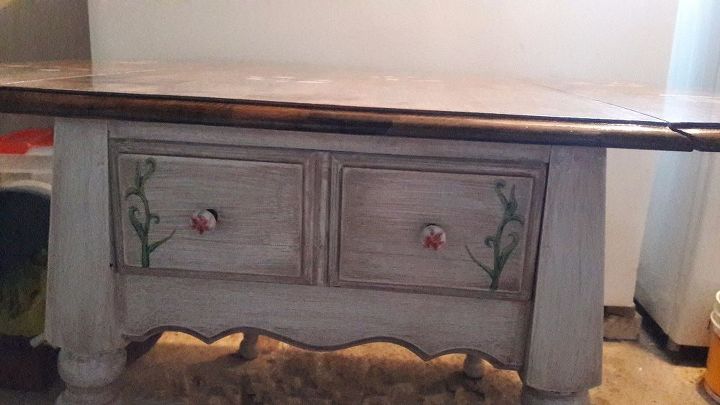
Here I used unicorn spit in red, purple, green and a teal color and blended them to make the drawers colorful, it blends really easily and nice with just a little water and a rag and brush, then sprayed with rustoleum clear
  • a side table for my night stand
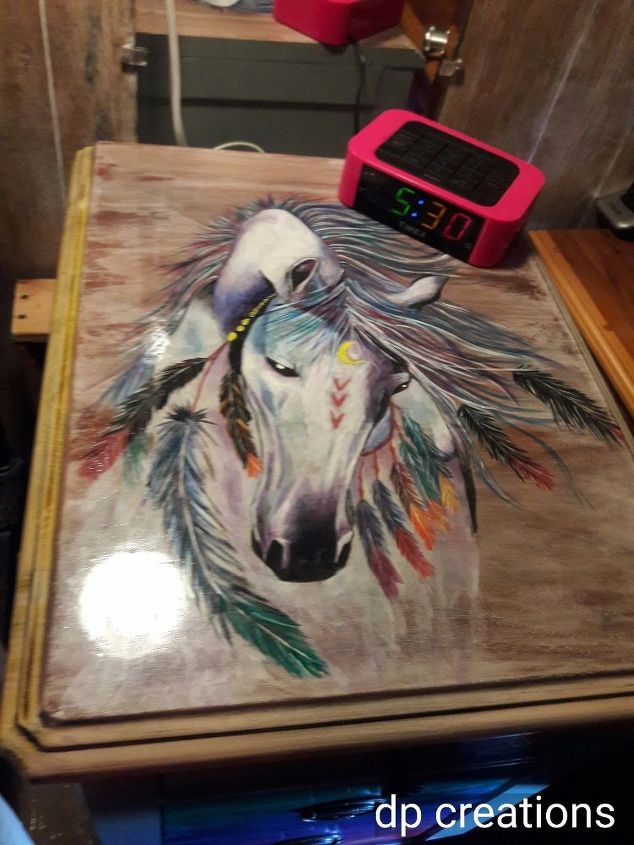
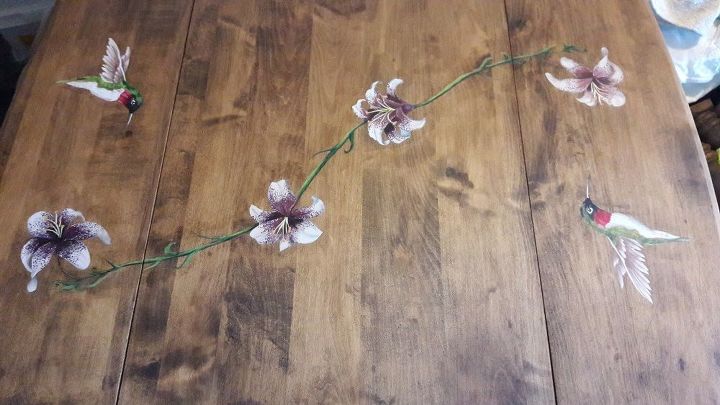
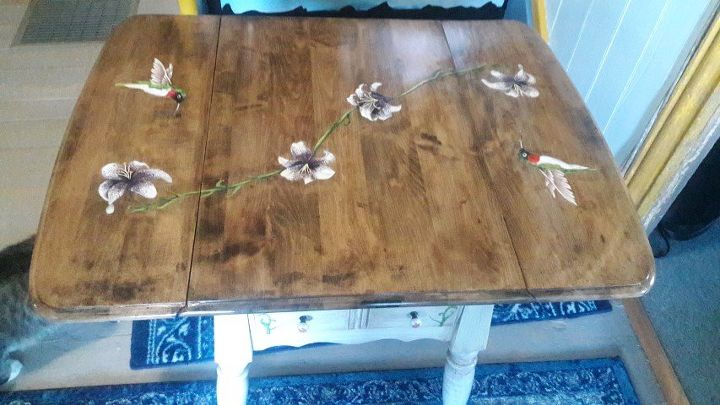
This is the completed top sealed with water based polyurethane, the white circle is just a reflection of the light
  • a side table for my night stand
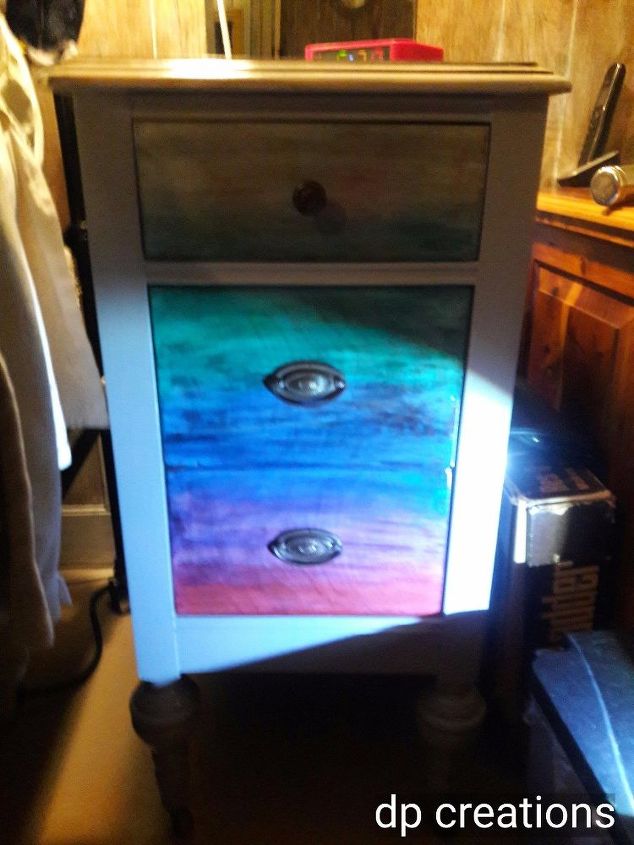
This picture is of the drawers with the hardware placed back onto it after I cleaned them with a brillo pad (I had to use a flash light to get a decent picture the corner in the bedroom was too dark)

Drop Leaf Table Get S Real Makeover

I purchased this little drop leaf side table and wanted to make it pretty
Time: 7 Days Cost: $40 Difficulty: Advanced
  • drop leaf table get s real makeover
This is the before picture when I started to sand it, very dark and very plain
  • drop leaf table get s real makeover
This is where I started to paint the bottom using home made chalk paint I then used some dark brown paint to antique it using a chip brush then sanded all the areas I did this on the bottom with fine sand paper to even out the antiquing and to make it very smooth
  • drop leaf table get s real makeover
I used freezer paper and made a piece the exact size of the table then started placing the images I wanted to use on it and taped them in place once I got the placement, then traced them onto the freezer paper so I could easily trace it onto the table
  • drop leaf table get s real makeover
I hand painted all the images using acrylic paints
  • drop leaf table get s real makeover
closeup of humming bird
  • drop leaf table get s real makeover
Flower closeup
  • drop leaf table get s real makeover
Stained and painted top, I used a walnut stain on the top of the table
  • drop leaf table get s real makeover
This is the front of the table showing the antique white, I thought it looked good being a two tone
  • drop leaf table get s real makeover
This is the completed table, I tried to show off the two tone but had a hard time with the picture for some reason

A Couple of Pallets and a Shoe Rack is Born


I live in a very old house and don't have a mud room so I wanted something better than a metal shoe rack so I had the idea to make a wood one out of pallets and hubby did the cutting for me
Time: 5 Hours Cost: $5 Difficulty: Medium
  • a couple of pallets and a shoe rack is born
First he cut the nails and boards off the front so we only had the back portion of the pallet, I forgot to take that picture but you can see here that the front of the pallet is missing even though the shelves are already on here. I sanded everything before we started putting them together.
  • a couple of pallets and a shoe rack is born
This is the board underneath the shelves to hold them in place, hubby screwed them to the side of the pallet piece so they would project out and under the shelving. These boards are from an old swing we had and we cut them to fit
  • a couple of pallets and a shoe rack is born
This is the unit before we took it inside, looks very rustic and we used screws to attach everything (The shelves are pallet boards too) I used a grey stain since some of the boards are grey looking.
  • a couple of pallets and a shoe rack is born
This is the completed shelf, I put some baskets on top for things we need at the door