Tuesday, August 29, 2017

Front door gets a little glam


The front door was faded and I wanted to change it up
Time: 3 Days Cost: $25 Difficulty: Medium
  • front door got a makeover
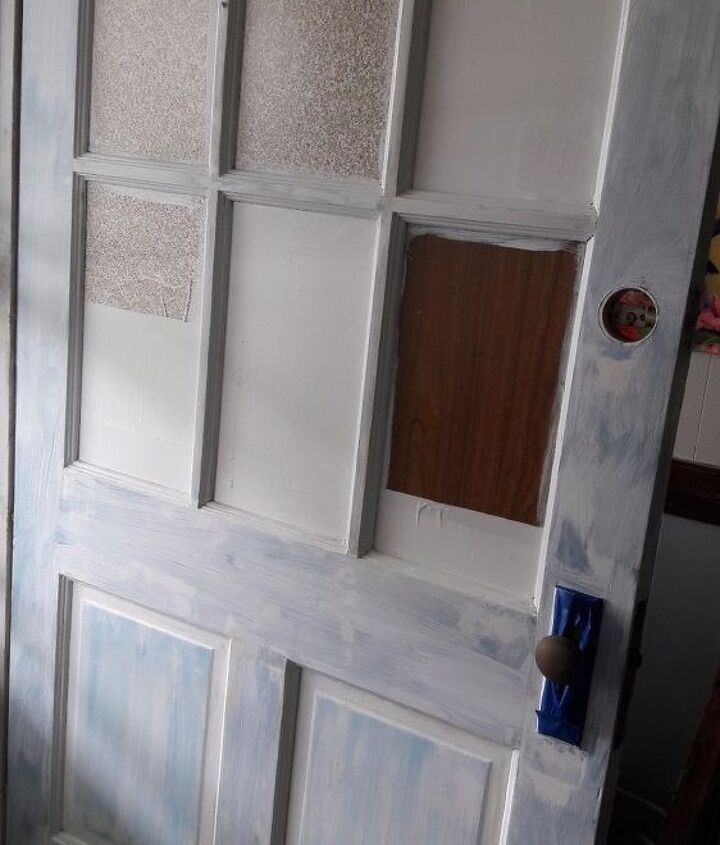
The door was blue with some white trim, here it has already been sanded and I taped the knob plus removed the deadbolt. I used contact paper on the windows so I wouldn't have to scrape paint and it is really much easier than tape. I make sure the contact paper is a little larger than the window, stick it on pressing it into the corners and then use a knife to go along the edges to cut it perfect to the window.
  • front door got a makeover
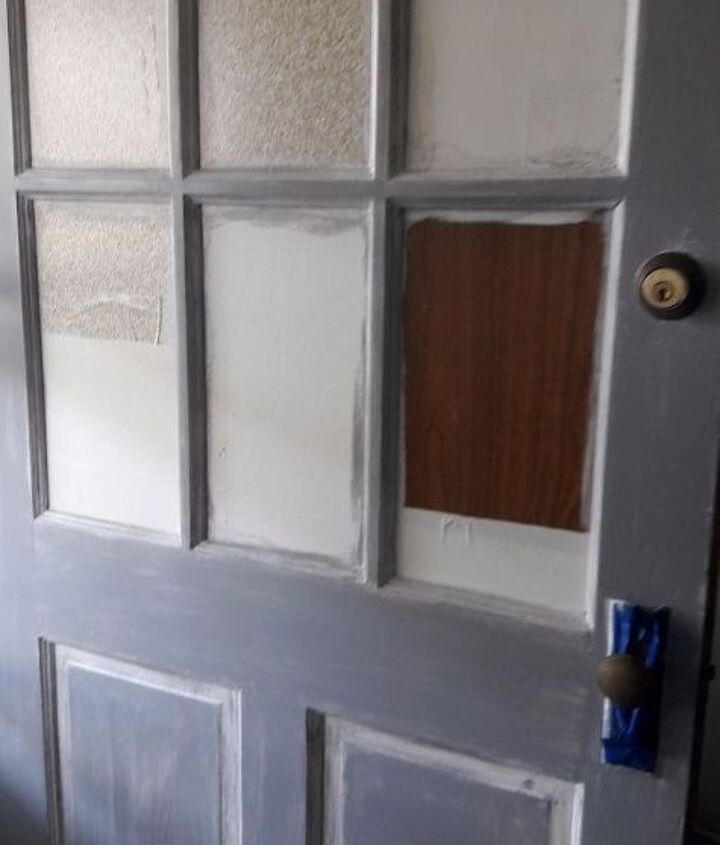
I primed it using the 123 primer, I used a grey paint, one coat and didn't worry about getting it to cover without streaks or anything, on the inset white area and around the windows I only very lightly dry brushed it on, I wanted it to look sort of like wood grain, I let that dry (the deadbolt was put back on so we could lock the door at night)
  • front door got a makeover
Here I put a fairly light coat of white paint over the grey and used a graining tool to make the wood grain look on the door, you can find some youtube videos showing how to use it, it really isn't difficult.
  • front door got a makeover
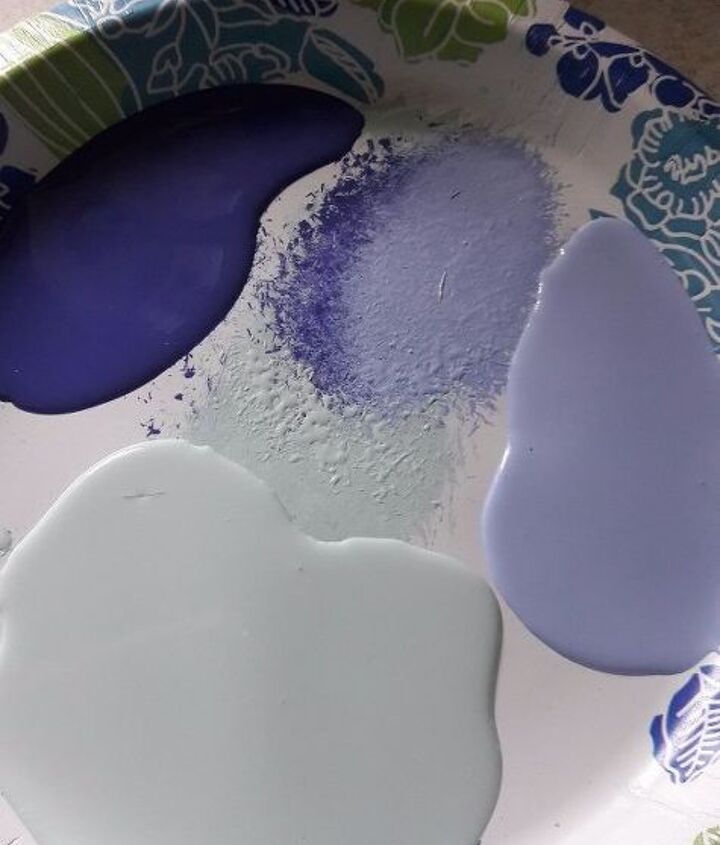
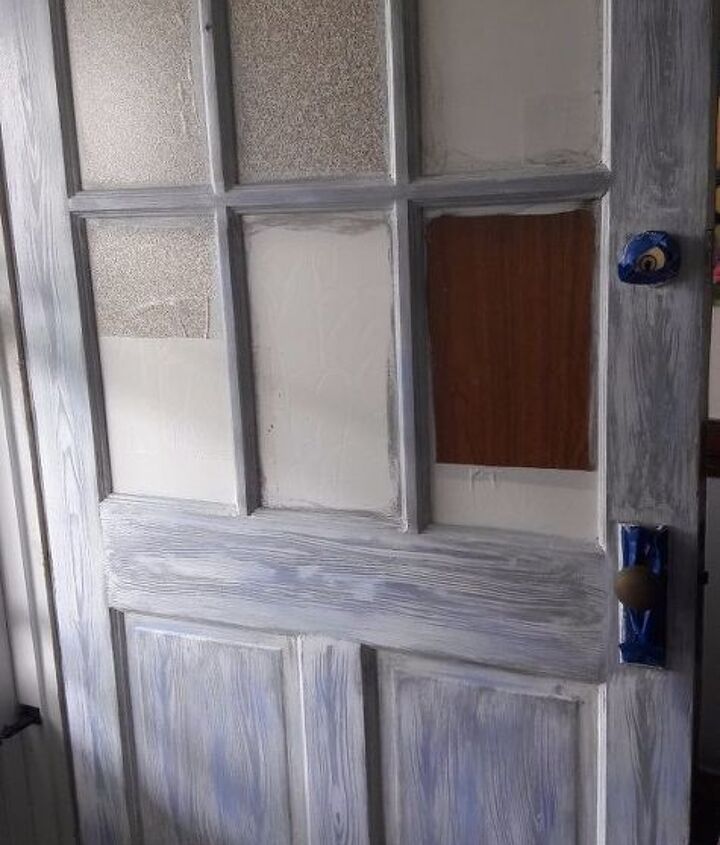
After the white dried, I used these 3 colors of blues to dry brush kind of randomly to give it more color and to make it look more antique like
  • front door got a makeover
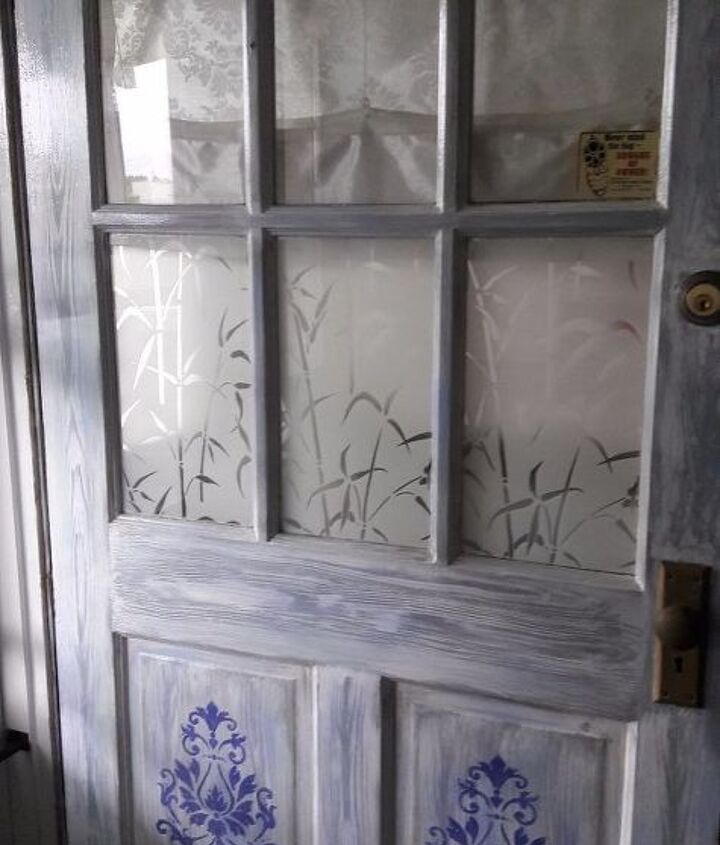
This is the finished door, I placed a stencil on the panels in one of the blue/purple colors I had dry brushed onto the rest of the door. I wish you could see the colors better in this picture, it really does look better in person. I also brushed on 2 coats of water based polyurethane to make it smoother, protect the paint and to make cleaning easier. our house has blue siding so the door really does go with the exterior.

Old Laminate Dresser Gets Redressed


I purchased this old dresser, it was in bad shape, the top was pealing terrible and the finish looked black
Time: 7 Days Cost: $75 Difficulty: Medium
  • old laminate dresser gets redressed
This is the dresser with drawers out and I started pealing the laminate off, it actually came off easy because of a large water damaged area, I was able to get it off with a putty knife, took me almost an hour though to get all the bits off. There were a couple small holes in the top, I think they used scrap wood here under the laminate but I thought it looked pretty and unique. The dark areas had a green tinge to them
  • old laminate dresser gets redressed
These are the drawers, they are marked up and very dark, sorry for the dark picture, they do have key holes in them but it didn't have a key with it. I used citristrip on this and covered with plastic. This finish got gooey though and never dried, I was afraid to leave it on for too long that it would lift the laminate and I wasn't sure what the wood underneath was like. This dresser had a dark stain with a lot of red in it, maybe mahogany. That red was terrible though, very hard to get rid of and I ended up with a slight tinge of red in the final process of sealing it.
I sanded a lot on this dresser trying to get the stain off as much as possible
  • old laminate dresser gets redressed
This little kitty I traced onto the dresser then painted with acrylic paints covered one of the small holes in the top (I did use wood putty in the hole but it didn't match the wood) This kitten looks like my little almost grown kitten.
  • old laminate dresser gets redressed
This kitty covered another defect in the top of the dresser. We have cats so it fits with our house and this one looks like my big fluffy cat.
  • old laminate dresser gets redressed
I printed some small black and white roses (the color isn't right in this picture) (I ended up printing twice because I had the size wrong the first time) I used a ruler in the Microsoft Digital Image Suite I have on my computer to try it make it about the right size. I then mod podged them onto the drawer handles and sealed with water based poly
  • old laminate dresser gets redressed
This is my completed dresser, I did use a darker stain on the areas in between the drawers but the drawers and the top I only used the clear water based poly. It was missing casters so we purchased new ones to replace and now it is so easy to move around. I am pleased with how it turned out.

Materials I used for this project:

  • RUST-OLEUM Varathane Gallon Gloss Waterborne Diamond Floor Finish
  • Sand paper
  • Sander
  • Citristip
  • Acrylic paints

Dingy little stand, stand out now


I have a small cabinet that I had stained very dark because it had some marks I couldn't
as you can see here I had already stripped the door using citristip and covering with plastic to remove the finish, I had not started on the rest yet but you can see how dark it is. My hubby said because of the shape of the cabinet it needed something like a shield on it so I searched around for different pictures and combined a few to make my own shield

Time: 7 Days Cost: $30 Difficulty: Advanced
  • completed stand really stands out
I used blockposters.com to get the right size, taped the printouts together, traced it onto the wood using carbon paper. I used different colors of acrylic paints, used gold for the shield , brown for shadows and white for highlights, silver for the swords and black for shadows, blacks and greys for the the eagles , white for the feathers just painting short lines in white for the feathers, red and yellow for the background and the lower part I just tapped white onto the grey shadows to make it look cloudy like. I can't wait to finish the cabinet and put it all together.
  • completed stand really stands out
This is the shield completed, it only needs sealed
  • completed stand really stands out
here is a horse I painted on the top to help disguise some of the flaws and also it is the horse to go with the knights shield. The horse was a combination of tracing and drawing, I had to add onto an image I found online. I used black, white acrylic paints to paint it. You could also mod podge an image if you can't paint.
  • completed stand really stands out
This is the completed stand, the side wood and legs came out with awesome grain. I do hope that people are able to see this one. It seems that my posts get hidden and no one finds them.
I feel I made a dingy cabinet very unique and lively